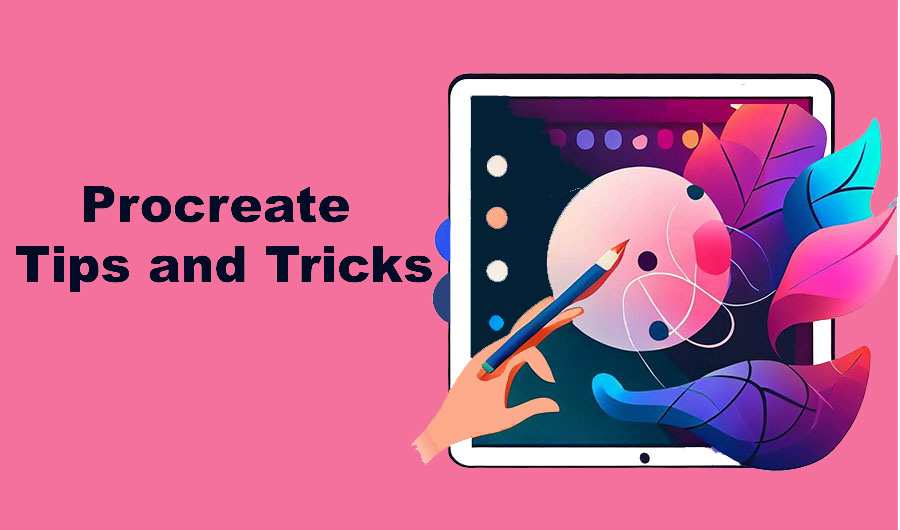
Procreate Tips and Tricks – Every Procreate User Should Know
Our lives are becoming more and more digital, and there are several ways to take advantage of this, especially creatively. The art created on our computers and tablets is increasing, especially as programs like Procreate become more accessible. It’s a great platform for expressing our creativity, it’s very versatile and has many great features.
Procreate lets you create almost everything you need from scratch, or by downloading clip art, add-ons, and more. There’s a lot to do with Procreate!
Interested in jumping into Procreate, but don’t know where to start? Don’t to worry about, we will assist you with our Procreate tips and tricks guide to start create stunning and creative digital artwork.
Now, have a look at our 10 important Procreate tips and tricks to get you started with your Procreate workflow right away.
The procreate application has been popular for many years due to its infinite creativity. The app’s extensive brush library, stunning modes and effects, and new typography tools make Procreate a reliable resource for many designers, illustrators, and crafters.
At first glance, the Procreate program looks simple and versatile. If you are new to the program, navigating the app can be overwhelming and quite daunting. Learning the details of Procreate from the beginning is important to get a feel for the program and understand its features.
The program has so many great features that there are so many things to discover and there are tips that can help everyone. Whether you’re new to digital art or experienced, read our Procreate tips and tricks guide for some useful tactics for using Procreate.
Tip 1: Gestures
Procreate gestures improve drawing efficiency by reducing the time it takes to perform basic actions. Instead of undoing or navigating to where the zoom command is in the Procreate app, just tap, swipe, or pinch your finger on the screen.
- Zoom in
- Zoom out
- Undo
- Redo
- Continuous undo
- Continuous redo
- Erase
- Rotate
- Eyedropper
- Copy/paste/cut
- Straight line
- Enable the quick shape
- Full screen
Tip 2: Brush up on library
Procreate has a wide selection of pre-set brushes bundled within the program.
Search the Web for Procreate brushes to find one that suits different designs and all your needs. You can usually download either a set of brushes, all of which fit a particular theme or individual brushes.
Duplicate and rename brushes
Brushes can be edited, so it’s a good idea to duplicate the original brush for reference. Always protect your work to minimize losses in the event of an error. To duplicate a brush, you can just open the brush library and then swipe left on the selected brush and select Duplicate.
Unfortunately, you can’t rename pre-set brushes in Procreate, but you can rename brushes that you create or download yourself. Brush adjustments on the screen two sliders appear on the left side of the canvas. All brush sizes are different. Therefore, setting the size of one brush to 100% does not necessarily correspond to another brush.
Interval
This option determines how often the brush shape appears in the path you draw. If the spacing is set to zero, the brush draws everything as a single line. Normally, you should set the distance to zero to draw.
StreamLine
Very useful tool-this is exactly what it promises. The StreamLine tool smoothes lines and removes bumps. Ideal for creating text and drawing shapes. The higher the Streamline slider, the smoother the line and vice versa.
Jitter
Instead of stamping with consistent lines, the stamps are randomly offset as the jitter increases. Therefore, to align all stamps and smooth the edges of the stroke, set the jitter to zero. Start the stroke with full opacity and reduce the stroke from there. Therefore, lower this tool so that it is not blended at all, and raise it so that the strokes are not visible towards the end.
Tip 3: Using layers to organize the composition
Like any other design or creative program, layers are a way to organize and save your work. Procreate layers behave like Adobe Photoshop layers, using blend mode, opacity options, and general settings. When setting up an illustration, name each layer in a way that describes the content of the layer. This avoids frustration when navigating or editing each level later.
When creating detailed illustrations, it is important to work within a specified layer rather than combining all shapes, textures, typography, and lines into one layer.
Tip 4: Get to know Masks
Procreate’s powerful mask options provide a non-destructive way to edit a single (or multiple) layer in a particular document.
In the Procreate application, you can choose from three mask options: Alpha Lock, Mask, and Clipping Mask. The names may look similar, but each mask option has its own feature set. To access the mask command, click the layer thumbnail and select one of the three from the drop-down menu. The features of each mask option are summarized below: Alpha Lock, Mask, and Clipping Mask.
Alpha Lock
This command is propagated by the gray checkerboard pattern shown in the highlighted layer above. Alpha Lock allows you to draw within the shape of this layer. This command is ideal for drawing within a range of shapes.
Often relies on the Alpha Lock command to apply textures, shadows, and highlights, but Alpha Lock is very useful for quickly changing the fill color of a layer.
For quick access to the Alpha Lock, swipe right at the specified level with two fingers. The only downside to Alpha Lock is that if you need to edit the Alpha Lock layer further, you can run out of layers and complicate the editing process.
Mask
To “erase” from a layer, set the brush color to black. To see the original layer, set the brush color to white.
Tip 5: Organize your color palette
Each color palette can be accessed from the Palette tab of the color wheel icon. As with the layer, it is also important to label each color palette.
To place a color square, keep the hue and then move it as needed. Also, press and hold the square to clear the swatch. For quick access to the palette in the Colors section, enable the Set as Default button.
Tip 6: Learn how to change colors
When using Procreate, you may need to change the color of a single shape or the entire layer. The ColorDrop technique is useful for changing the color of some shapes, while the Alpha Lock Fill Layer method is good for changing the color of the entire layer. As mentioned above, the new hue fills the boundaries of the shape.
Among from all Procreate tips and tricks, this method only works if the illustration is completely closed. Applying this technique to an open shape fills the entire layer with the selected hue. When working with compositions more complex, the Alpha LockFill Layer command is much faster.
Go to the layer you want to edit, click on the thumbnail and select AlphaLock. Return to the color menu and activate the new color swatch. Click the layer thumbnail again and select Fill Layer. Changing the color of an illustration has never been easier.
Tip 7: Quick shape command
It can be difficult to draw a complete circle or triangle in a composition that uses the quick shape command.
Procreate’s QuickShape command is useful for straightening non-uniform lines to create more geometric shapes. Create a triangle and hold down the pencil cursor until the shape clicks into place. A menu appears on the canvas where you can edit the shape. Click the button to work with individual points in the shape. Press the cursor icon to return to the canvas.
To create the perfect variation of shape. For example, for a perfect square, circle, or equilateral triangle, hold down the extra finger as you draw the shape.
Tip 8: Go through Blending mode
Blending Mode is an underestimated tool in many design programs. They create a mixture of two adjacent layers and often produce their results. Many designers and illustrators are familiar with blended mode because they are present in Adobe software.
Click the text next to the checkbox for each layer to access it from the layer menu. In layer mode, you can adjust the opacity and change the appearance in up to 25 different blend modes.
Tip 9: Try the text tool
If you need a little typography but don’t know the lettering or calligraphy, Procreate’s new text tool is enough. This tool, like any other Adobe program, has all the editing features such as kerning, styling, and outline options. You can also edit the text further with brushes, effects, and masks.
Tip 10: Incorporate Textured Brushes
The Brush Library is arguably one of the best aspects of Procreate. For example, pencils, watercolours, and charcoal.
Each brush is divided into sections from sketch to water for easy navigation. To access Procreate’s extensive selection of default brushes, select the brush icon at the top of the program.
Many illustrators use textures to deviate from typical solid geometry and smooth, clean lines. Prefer using textures to incorporate variations and add my shadows and highlights to the image. Among the standard brushes, I often use are charcoal brushes and ink brushes for subtle textures. Click on an individual brush to further edit its properties. As with all aspects of Procreate, try the brush library and try different brush styles.